
On the 7th Day of Christmas, Connie put on sale . . .

Today is also Tuesday which means that two of Connie's fabulous kits are on sale for only $2 each!

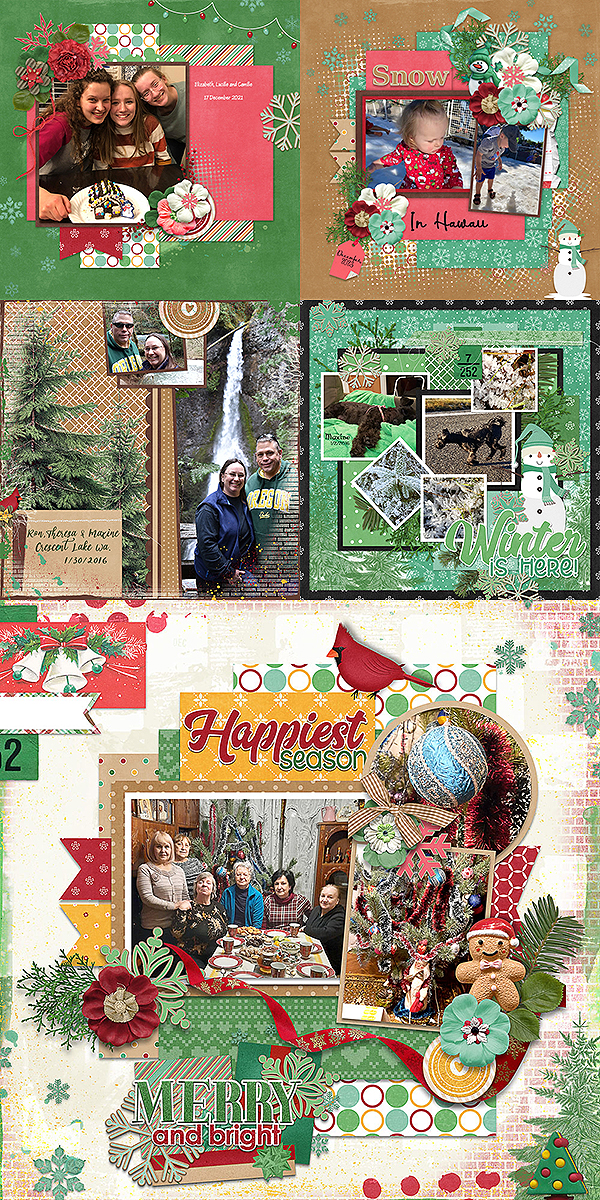
CT Layouts With Winter Days


I haven't forgotten that one of you asked how I make cards out of scrapbooking kits. I honestly create a new project with my canvas/workspace the size of my finished project and make a card front just like I make a layout. Keep in mind that you might want to set up grid lines at 3mm all the way around to show print bleed and 5mm all the way around for a time line That helps you keep in mind where you need to keep all important things like text inside so it doesn't get chopped off. If you are using a service that prints all the way to the edge that step isn't necessary but if you aren't sure, it's better to be safe than sorry.
I honestly have just printed cards at home but I did upload the card fronts that I made for my oldest two children's graduation to Wal-Mart.com and had them printed using the 1 hour photo lab. They turned out perfect! That's what I'm considering using for Christmas cards for our church family. That way I can take them to church this week and drop them off in our "Christmas Post Office" where we all pick up our cards instead of mailing them. The postage that we save gets donated into our missions fund.
I'm sure there are templates available out there as well but I have been known to take parts of 12X12 templates and resize them to work on a smaller scale for a 4 X 6 card and get extra mileage out of those 12 X 12 templates successfully too.
Just think of making a card front the same as you would any brag book page or layout but make your initial size 4 X 6 at 300 ppi.
For your freebie today, I have a cluster freebie from Deb R created with Paint Chips: Burnt Umber!

Have a terrific Tuesday!
~Susan~
2 comments:
Thank you :)
You are very welcome, Crystalnva! Thank you for stopping by the blog!
Post a Comment